Gooey Apple Ricotta Cake


(This post may contain affiliate links at no extra cost to you. This is my way to keep this site afloat and free of ads. Read my full disclosure here.)
When the texture is even better than the flavors
This Apple Ricotta Cake is soooo gooey I needed to mention it in the title! It's very crumbly, tender and incredibly moist as all of my ricotta cakes. It’s perfect for any time you want a sweet simple cake to share with people you love during the fall season.
Ok, you’re probably guessing by now that I love ricotta cakes! They are so versatile! I have read so many stories of you baking many of my ricotta cakes for brunch, tea parties and book club reunions. This cake has become a social butterfly hanging at all your parties! I love it!
This version is a bit different from my previous Apple Ricotta Cake. Here, I incorporated the apples by cutting them in chunks and adding them into the batter, instead of slicing then and arranging on top.
I also added lemon and lemon zest to brighten the apples and bring out their tartness. On the other hand, my original Apple Ricotta Cake is full of warm spices like cardamom and of course, cinnamon! Feel free to combine these versions to make your very own.
Is it gooey or is it raw?
As I always mention, this kind of cake is pretty gooey, and this one has to be the gooiest of all, probably because I’m adding big chunks of juicy apples to the batter. But gooey doesn’t mean raw! If you follow the recipe and the cake has been in the oven for more than an hour already, it should be done. Don’t test it during the first 45 minutes because then it will be raw. For some reason this cake finishes up setting during the last 7 minutes, it’s crazy!
Working with wet ingredients that are somewhat chilled is key here (talking about butter, eggs, ricotta cheese and fruit). You just want them to loose some of the cold so they are manageable but you don’t want them warm. That’s why the batter of this cake looks very thick. If ingredients are warm, the cake will not be baked properly.
Another key for success is a bit of patience (talking about life or talking about the cake, Dev?). Different from other cakes that the main reason you can't cut it immediately is because you’ll burn your hands miserably, here it really needs to cool down completely to finish setting.
In my experience, if you can chill this cake for about an hour or more after cooled down, and then let it come to room temperature, the texture will be perfect and flavors will develop even more. This is just an anecdotal note after eating many pieces of cakes that have been stored in the fridge and then letting them come to room temperature before eating.
If heated in a toaster oven it will get toasty on the edges and it’s a whole new experience. I’m telling you, every bite of this cake is pure magic.
Here’s the rundown for when making this Apple Ricotta Cake!
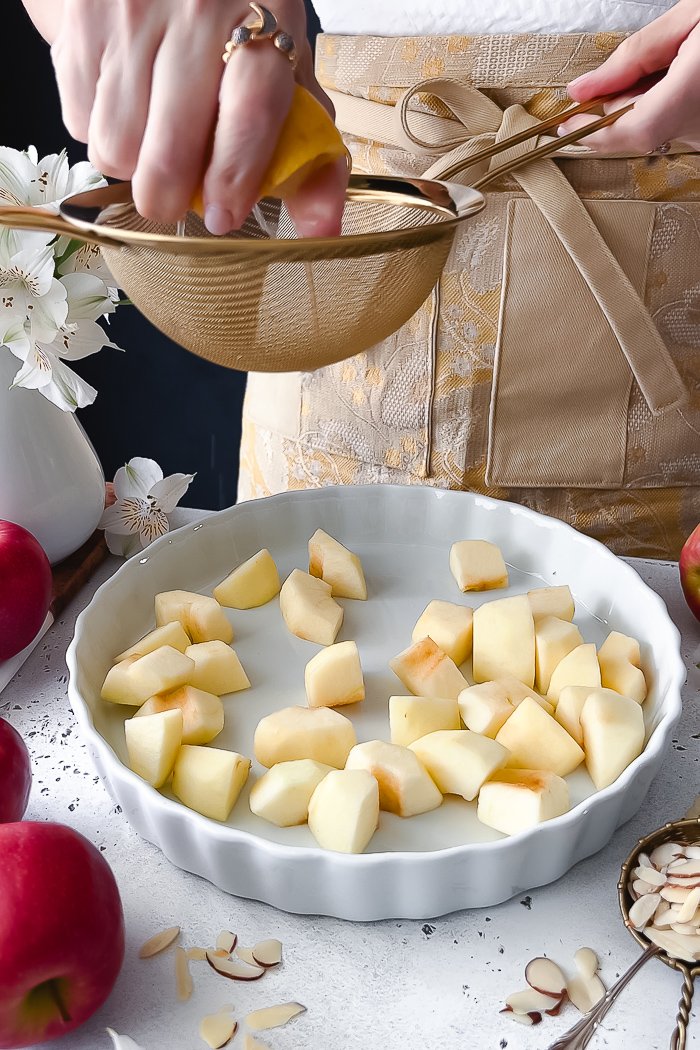
Since you will use both lemon zest and lemon juice, the logical order will be to first zest the lemon and add it to the sugar, cut the apples and then drizzle the lemon juice over the apples. I’m aware I did it different for the video but this way you just use one lemon.
The idea behind freezing the apple chunks is for the batter to get very cold when you add them, as it happens when you make the Ricotta Blueberry Cake. This improves the texture a great deal.
Next, grease or line with parchment paper a 9” springform pan. You can use a regular 9” cake pan, just try not to mess up too much with that beautiful thin crust when turning the cake.
Mix flour, baking powder and salt in one bowl.
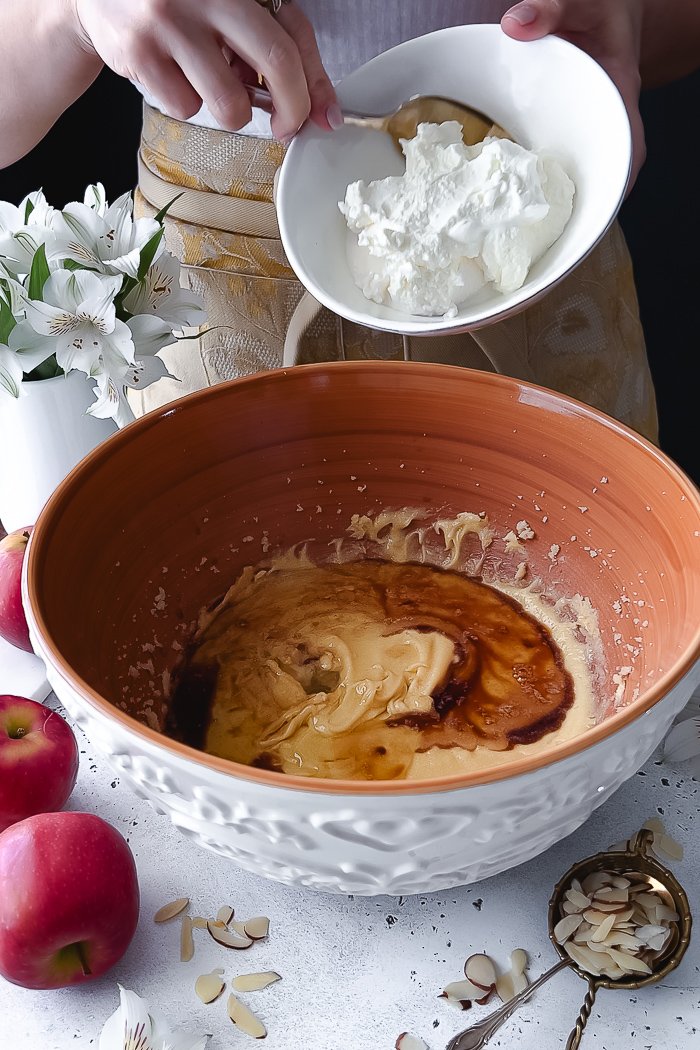
In another large bowl or in the bowl of a stand mixer, mix the barely softened butter with the lemon zest-sugar mixture and the rest of the wet ingredients, following times and cues from the recipe.
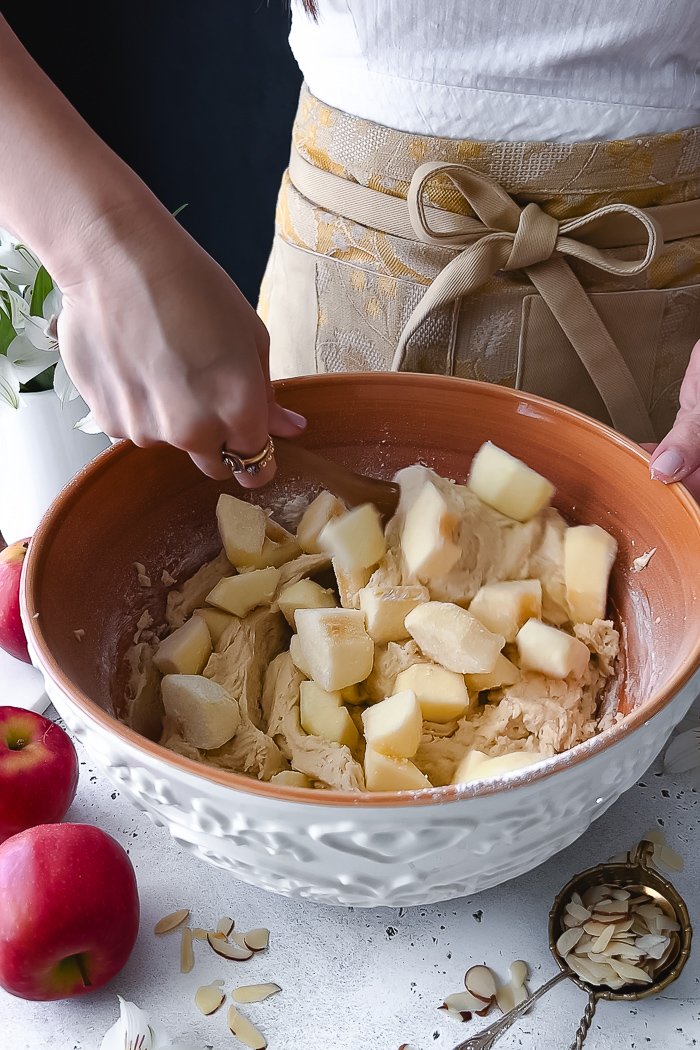
At the end, add the frozen apples and fold in.
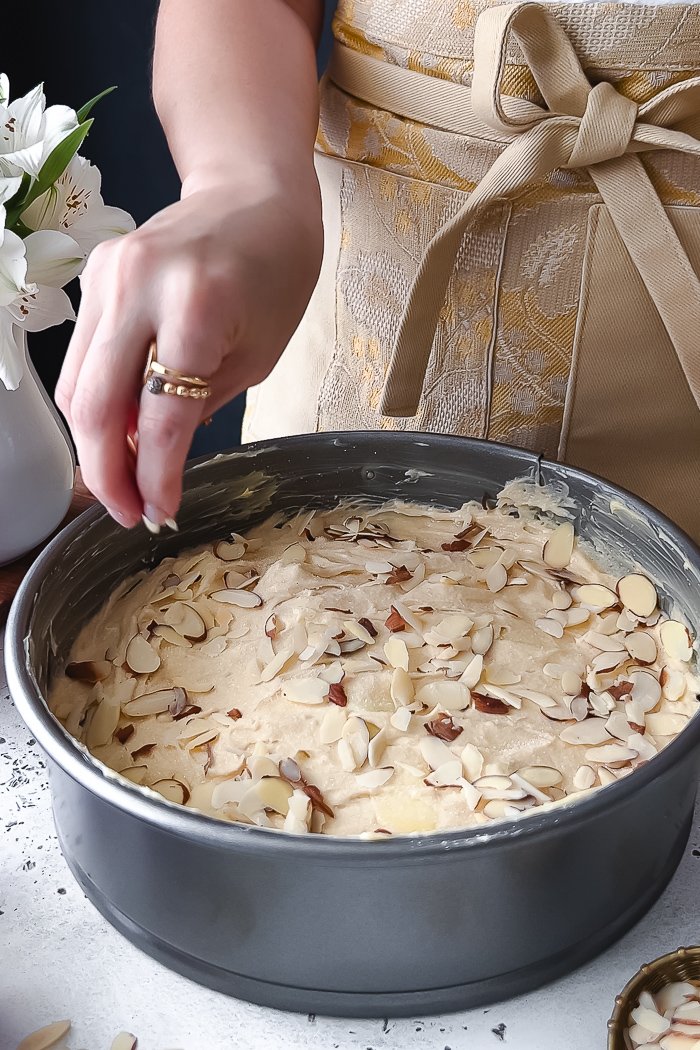
Transfer to pan and even out the batter as much as possible because batter will be thick. If you can, make sure apple chunks are not touching the walls of the pan. If so, pull those to the center and push some of the batter towards the wall.
Bake for about 50 to 55 minutes. Depending on how juicy are your apples and initial temperature of ingredients, it can be in the oven 10 to 15 minutes beyond that point. If cake is burning on top, cover it with aluminum foil after 45 to 50 minutes in the oven and let it finish baking if necessary.
Poke different areas with a toothpick to make sure the majority comes out clean. Remember that some areas can come out with some sticky batter. What you don’t want is runny or thin batter from all the areas you test it.
Remember to have patience and wait until it cool downs completely and then more. If you chill it and then let it come down to room temperature again even better.
You can make whipped maple cream to serve but it’s completely optional.
What you’ll need
A 9” springform pan. This is the one I use and I love that the base is slick.
This cream mixing bowl reminds me of one I used a few years back but unfortunately broke. It’s so pretty!
Love this strainer set for sifting the flour and dusting the sugar.
3 recipes I think you’ll love if you’re loving this one:
Ricotta Blueberry Almond Cake
Lemon Raspberry Ricotta Cake
Peanut Butter and Blueberry Preserves Coffee Cake
*
I can’t wait for you to make this fantastic cake! You’ll have it on repeatthis fall. Can’t wait to hear how much you love it!
Don’t forget to share and tag me in Instagram (@devamadeo), Facebook (@DevAmadeo) when you make it. Love to see my recipes in your kitchens!
(Remember to leave your email when you make a comment to receive a notification as soon as I get back to you. Don’t worry, this will not add your email to my email list.)


Gooey Apple Ricotta Cake
Ingredients
◯ Lemon zest - 1 TBSP, about the zest of 1 large lemon
◯ Natural granulated sugar – 1 ½ cup / 319g, plus about ½ TBSP to sprinkle on top before baking
◯ Apples (preferably Honeycrisp or Pink Lady), cut in thick pieces of about 1” - about 2 ½ cups, 230g
◯ Lemon juice - 1 TBSP, about the juice of half a lemon
◯ All-purpose flour, preferably unbleached – 2 cups / 305 g
◯ Baking powder – 1 Tsp / 5g
◯ Fine sea salt – ½ Tsp / 3g
◯ Unsalted butter, barely softened (see notes) – 8 TBSP (1 stick) / 115g
◯ Eggs, slightly chilled – 2 / 98g total
◯ Vanilla extract – 1 Tsp / 4g
◯ Almond extract (optional) – about ¼ Tsp
◯ Ricotta cheese – ¾ cup / 189g
◯ Vegetable oil – ¼ cup / 2 oz / 65mL
◯ Sliced almonds for the top before baking – about ¾ cup
◯ Powdered sugar to dust after baked
◯ Maple whipped cream to serve
Details
Yield:
a 9” springform pan, 10 to 12 pieces
Total time:
1 hour 20 minutes
Active time:
20 minutes
Baking time:
1 hour
Equipment:
stand mixer or handheld electric mixer, 9” springform pan.
Steps:
Mix lemon zest with the 1 ½ cup/319g of sugar. Set aside.
Drizzle apple pieces with the tablespoon of lemon juice and place then in the freezer for about 30 minutes, about the time you prepare everything for the cake.
Preheat oven at 350°. Grease with plenty of butter a 9” springform or regular cake pan or line it with parchment paper. You can use baking spray as well.
In a medium bowl mix the 2 cups/305g of flour, the 1 teaspoon/5g of baking powder and the ½ teaspoon of salt/3g with a hand whisk.
Using a stand mixer or electric hand mixer, beat the 8 tablespoons/115 g of the barely softened butter in slowest speed for about 30 seconds to cream it a little. Add the lemon zest-sugar mixture for about a minute, until you get a grainy paste. Add the 2 eggs, one at a time and mixing in between. Add the 1 teaspoon/4g of vanilla, the ¼ teaspoon of almond extract (if using), the ¾/189g cup of ricotta and the ¼ cup/65mL of oil and mix until combined.
Place a large sieve on top and add about a cup of the dry mixture. Gently mix until combined. Repeat this two more times. As soon as the last addition is mostly incorporated stop the mixer. Add the frozen apple pieces and fold them into the batter. Scrap the bottom of the pan to make sure everything is incorporating well.
Transfer batter to prepared pan. Sprinkle some extra sugar on top, about ½ tablespoon. Sprinkle sliced almonds as well.
Transfer pan to oven and bake for 50 to 55 minutes, covering the cake with aluminum foil the last 10 minutes of baking to prevent the top from burning. Insert a toothpick through the center of the cake to check for doneness. Remember this cake is gooey so toothpick may come a bit sticky and humid. If it’s not runny it’s ready. This cake will never look super set inside.
Retire from oven and let it cool down completely before removing from springform pan, about an hour. Dust some powdered sugar on top. Serve with maple whipped cream, recipes follows.
The texture of this cake reaches its peak if you place it in the fridge after cooled down for an hour or two and then let it come down to room temperature. It’s perfect for making ahead!
Store in a cool area the first day then wrap it in cling paper and store it in the fridge, it will be good for a week.
Reheat in a countertop oven heated at 350° for 5 to 7 minutes. It will be extra toasty!
Making the Maple Whipped Cream:
Either with a hand whisk or with an electric mixer, whisk ½ cup of very chilled cream until frothy. Drizzle about 2 tablespoons of maple syrup and add a drop of vanilla if desired. Whip more until thick and frothy.
Note that if doing by hand, the process can take about 10 minutes.
